
Bingham Restoration Resources
Murray Flood Damage Rebuild: From Demolition to Move-In
Published July 5, 2026
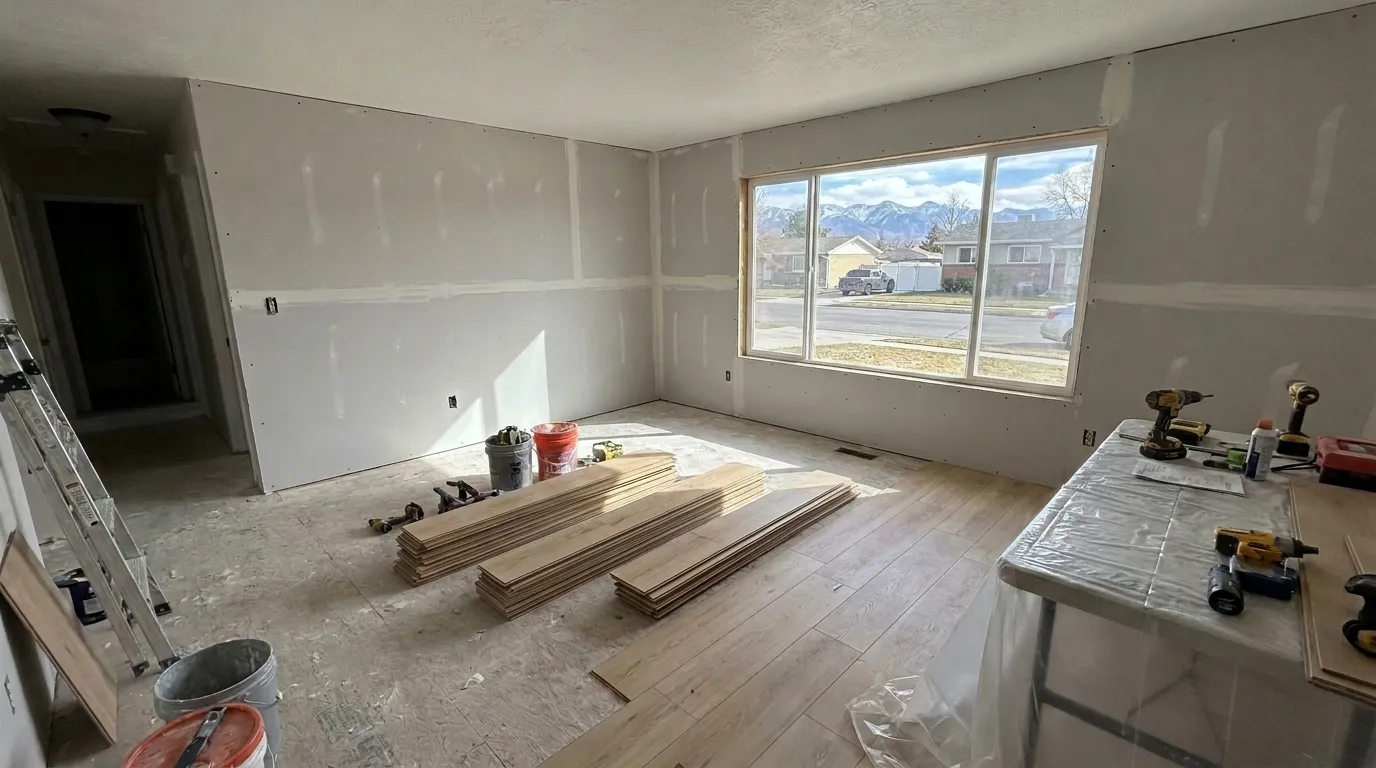
A flood damage rebuild is renovation work happening under specific circumstances: the demolition is already done, the timeline is shaped by insurance, and the homeowner is usually displaced. This guide walks through how a Murray, Utah flood rebuild runs from the end of mitigation to move-in.
Where Mitigation Ends and Rebuild Begins
Mitigation work — extraction, drying, demolition, antimicrobial — closes when materials reach verified equilibrium moisture content and the substrate is documented clean. The “rebuild” phase starts at that point. The transition is typically:
- Dry-out verification. Moisture meter readings recorded and logged.
- Substrate inspection. Subfloor condition, framing condition, plumbing and electrical access.
- Scope finalization. Final agreement with the carrier on what is rebuilt and to what standard.
- Permit pull if structural, electrical, plumbing, or HVAC scope requires it.
- Schedule. Trade sequencing across drywall, electrical, plumbing, paint, flooring, and finish carpentry.
A single-source project (Bingham handling mitigation and rebuild) eliminates the handoff gap where the rebuild contractor and the mitigation contractor disagree on whether the substrate is ready. For more on why the split matters, see restoration vs. remediation.
The Murray Context
Murray’s housing stock spans late-1800s cottages, mid-century ranchers, 1970s ramblers, and infill new construction. Each carries different rebuild realities:
- Older homes (pre-1978) require lead paint and asbestos protocols on disturbed materials.
- Mid-century homes often have plaster walls that need transition details where drywall replaces damaged sections.
- Newer homes typically rebuild faster because materials are standardized and accessible.
Our scope reflects what your home actually is, not a one-size-fits-all template.
The Rebuild Sequence
- Framing repairs. Damaged studs, joists, or subfloor replaced and inspected.
- Plumbing rough-in repairs. Any line damaged in the loss or accessed during demo is replaced and pressure-tested.
- Electrical rough-in. Damaged wiring, outlets, and fixtures replaced. Permit and inspection where required.
- Insulation. Replaced to current code in opened cavities.
- Drywall. Hung, taped, and finished to match adjacent surfaces (smooth, knockdown, orange peel).
- Paint. Stain-blocking primer where moisture damage occurred, topcoat to match.
- Flooring. Replaced or repaired by material — hardwood, tile, LVP, carpet.
- Cabinetry and millwork. Replaced where damaged. Original cabinets sometimes refinished if frames are intact.
- Trim and doors. Baseboards, casings, and doors replaced or refinished.
- Final detail. Caulking, paint touch-up, hardware, fixtures, final cleaning.
- Walkthrough and warranty.
How Insurance Treats Rebuild Scope
Most Utah homeowners policies cover like-for-like replacement. That means:
- Original hardwood replaced with comparable hardwood.
- Builder-grade cabinetry replaced with builder-grade cabinetry.
- Standard tile replaced with standard tile.
Upgrades — replacing builder cabinets with custom, swapping carpet for hardwood, adding fixtures that were not present — are paid by the homeowner. We can scope upgrades alongside the insurance work, and the labor blends together, which reduces what an upgrade would cost as a standalone project.
What Murray Homeowners Should Decide Early
- Stay or relocate. Most full rebuilds run cleaner with the home unoccupied. ALE coverage usually pays for housing during the work.
- Like-for-like or upgrade. Decide before scope finalization. Mid-project change orders extend timelines.
- Finish selections. Cabinet style, flooring, paint colors, fixtures. Selections take longer than people expect; start early.
- Single-source or split scope. Whether to keep mitigation and rebuild under one contract or split between two contractors.
Common Pitfalls
- Rushing the dry-out verification to get to rebuild. Premature rebuild over wet framing creates mold within weeks.
- Not pulling permits where required. Re-permitting after work is done is expensive and slows the project.
- Settling for a low-ball rebuild scope on the insurance estimate. Supplemental claims are routine and often required for scope items that emerge during demolition.
- Choosing the cheapest rebuild bid. A clean rebuild requires coordination across half a dozen trades. The savings on a cheap bid rarely survive the actual job.
Related Services
Bingham Restoration provides full-scope flood damage rebuild as part of our Murray renovation services. We are headquartered locally and handle every phase from emergency dispatch to move-in. Call 520-FLOODED for a consultation.
Frequently Asked Questions
Does Bingham handle both mitigation and rebuild?
Yes. We handle the full lifecycle: emergency response, water mitigation, drying, demolition, and full reconstruction back to pre-loss condition or better. Single-source projects close faster, document cleaner, and reduce handoff gaps between phases.
How long does a flood rebuild take after mitigation?
A typical residential flood rebuild after mitigation runs 4 to 12 weeks depending on scope. Single-room rebuilds with intact framing finish faster. Whole-home or multi-floor rebuilds with cabinetry, custom millwork, or trade-permit work extend longer.
Can I upgrade finishes during a flood rebuild?
Yes. Many homeowners use flood rebuilds to upgrade finishes, layouts, or systems while the home is already opened up. Insurance covers like-for-like replacement; upgrades are paid out of pocket but cost less than a separate renovation.
Need Emergency Restoration Right Now?
Our crews arrive in 48 minutes on average and bill your insurance directly.
Call 520-FLOODED